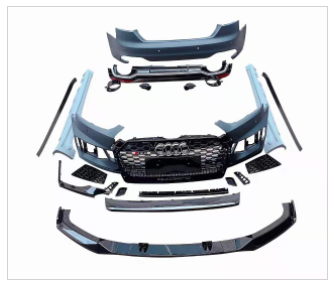
How to Install Quality Body Kits?
1. Before installing, make sure all parts of the kit are symmetrical and fit your car. Note that if the toolkits you want are too complex to install on your own, you can find stores to install them for you.
2. If you want to paint the body kit, prepare each piece before installation. If you decide to draw and refine the kit parts, get the specific code for the colors you want.
3. Remove all factory parts that are currently installed on your car. These are usually bumpers and side skirts.
5. Align new parts with holes and screws to ensure proper installation.
6. Begin installing body components one by one. If it's full gear, start with the front bumper. Note that other kits require side skirts to be installed first to prevent them from overlapping the bumper.
7. Before fastening, use adhesive strips or double-sided tape to attach to body components.
8. Once the installation is complete, check the alignment to see if the wheels fit into the new body kit. Wider or larger wheels can be used to fill the gap.
9. Check that the car's current driving height allows it to ride smoothly and still clear bumps, as the suspension usually lowers as new body kits are installed. Give it a test drive and adjust the suspension accordingly.

